
A faucet leaking at the base can seem like a minor issue, but it can lead to significant water waste and even property damage over time. This comprehensive guide will walk you through fixing a leaking faucet at the base, from diagnosing the problem to the final repair, offering clear instructions and valuable tips for DIYers. We’ll cover the common causes of leaks, how to properly identify the source of the problem, and provide practical steps to effectively fix it. You’ll learn how to repair your faucet without costly professional help, ultimately saving you money and time.
Understanding the Problem: Why Your Faucet is Leaking at the Base
Common Causes of Faucet Leaks
A leaky faucet at the base often stems from several factors. Loose connections, worn-out parts, or simply a poorly installed faucet are among the most common culprits. Water pressure variations, especially in older homes with aging plumbing systems, can also play a role. Identifying the source of the leak is the first critical step in finding an effective solution.
Symptoms and Signs
Related Post : Water Pressure Suddenly Dropping? Common Plumbing Issues to Check
Recognizing the symptoms of a leaking faucet at the base is crucial for a swift fix. Listen for subtle dripping or constant, slow leakage. Check for water stains on the base of the faucet or surrounding areas, as these can indicate a more serious issue. If you detect any of these indicators, swift action is key to avoid unnecessary water waste and property damage.
Consequences of Ignoring a Leak
Ignoring a leaky faucet at the base can have several negative consequences. Over time, the leak can cause significant water waste, resulting in higher water bills. Furthermore, constant exposure to water can damage the surrounding areas, potentially leading to mold growth or structural issues. Addressing the problem promptly is essential for the longevity of your plumbing system and your budget.
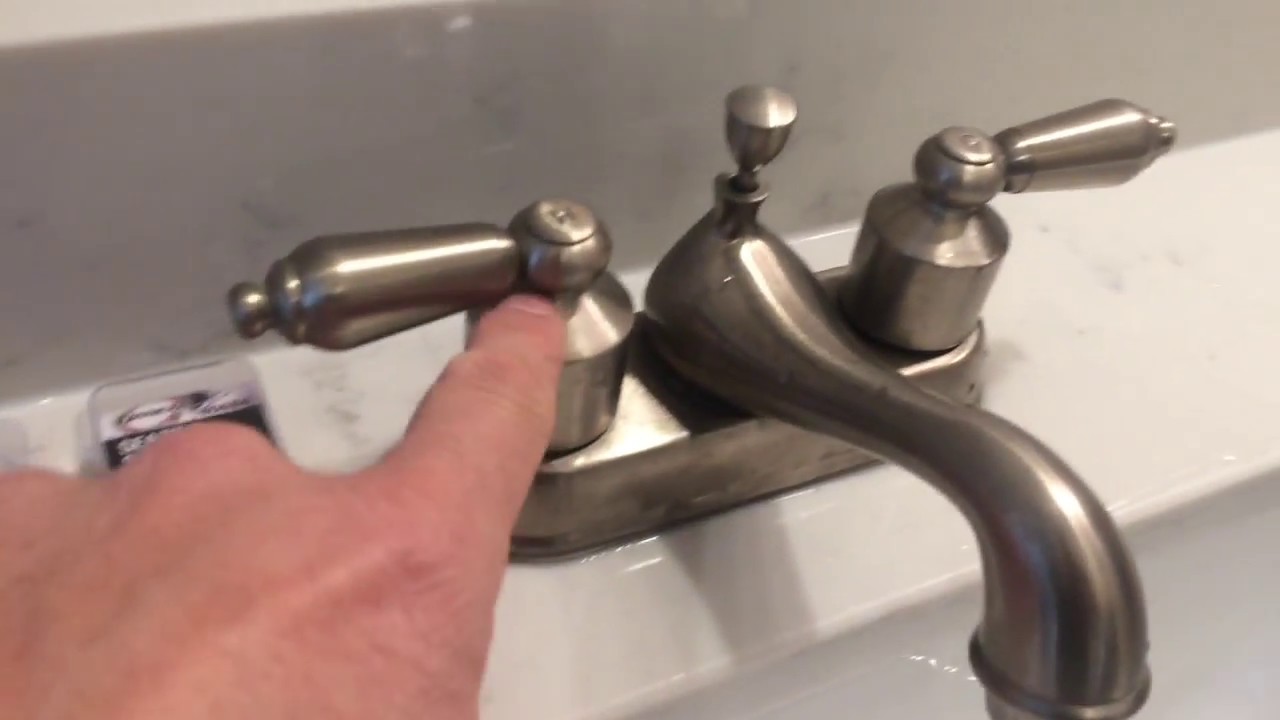
Identifying the Source of the Leak
Accessing the Faucet Base
The first step to fixing a leaky faucet at the base is gaining access to the underlying components. This involves carefully disconnecting the faucet from the sink or countertop. Use appropriate tools, such as adjustable wrenches and channel-lock pliers, to loosen connections without causing damage. Take extra care to avoid bending or stripping screws.
Visual Inspection and Assessment
After disconnecting the faucet, perform a thorough visual inspection. Check for any visible signs of damage or wear and tear, such as corrosion, cracks, or loose connections. Identify the specific source of the leak. Carefully examine the base of the faucet, the connections, and the components beneath the sink to locate the source of the dripping water.
Diagnostic Tools and Techniques
Employing diagnostic tools can help to pinpoint the source of the problem. A leak detector can help to ascertain the precise location of the leak. Pay attention to unusual water patterns or pressure changes which might indicate hidden leaks. Using a flashlight, or a magnifying glass can enhance your visualization, helping to identify specific weak spots or damaged parts that need repair. If the leak is not immediately apparent, consider using a soapy water solution to track the path of the leak. This method helps to trace the leak path and precisely locate the damaged areas.
Repairing the Leaking Faucet at the Base
Replacement Parts
A crucial element in faucet repair is acquiring replacement parts. If you encounter damaged components, you need to replace them with compatible new parts. Ensure the parts are compatible with your faucet model and type. It’s crucial to get the exact parts to ensure a perfect fit and optimal functionality.
Step-by-Step Repair Procedure
After determining the defective parts, begin with tightening or replacing loose connections or damaged parts. Utilize Teflon tape or plumber’s putty where necessary to prevent future leaks. Follow the manufacturer’s instructions, if available, for specific installation guidance. Replace any damaged washers, gaskets, or O-rings. Apply a good sealant or pipe compound at critical joints to prevent future leaks. Ensure everything is connected securely to prevent water damage and future leaks.
Testing and Verification
Before reconnecting the faucet, perform a thorough water pressure test. Slowly turn the water on and carefully monitor for any leaks. Test the faucet operation and make sure everything functions correctly. Check the connections and sealants again. This critical step ensures that the repair is successful and long-lasting. Adjustments might be necessary if the leak persists or continues after the repair.
Maintenance and Preventative Measures
Routine Inspection
Regular maintenance is critical for preventing future faucet leaks. Inspect the faucet connections and surrounding areas for signs of wear and tear every month or so. Promptly address any loose connections or signs of corrosion to prevent more substantial problems. Proactive steps will save you potential issues down the line.
Proper Water Pressure Management
Maintaining appropriate water pressure is essential for preventing faucet leaks. Ensure your water pressure levels are within recommended parameters to avoid stressing your faucet. Consult your local water department for accurate pressure guidelines or seek professional advice if necessary.
Specialized Tools and Techniques
Understanding and applying the most effective tools and techniques is crucial for successful repair. Having the right plumbing tools is vital. Use appropriate tools for specific situations. Consider taking a plumbing class or seeking guidance from a plumber to refine these skills. It’s worth it for your plumbing system’s health.
Conclusion
Fixing a leaking faucet at the base is a manageable task with a little guidance. This comprehensive guide will equip you with the steps to effectively address this plumbing issue, saving you time, money, and potential property damage. Through systematic examination, component replacement, and thoughtful preventative measures, you can achieve a long-lasting solution and maintain a functional faucet.
In summary, fixing a leaking faucet at the base requires careful diagnosis, the right tools, and a methodical approach. By following these steps, you can effectively resolve the issue and prevent further water damage. Remember to prioritize safety and consult a professional if you feel uncomfortable performing the repair yourself. Don’t hesitate to contact a plumber for further assistance or if the leak persists after trying these steps. If you found this guide helpful, please share it with your friends and family who might face similar plumbing issues. Let us know in the comments section if you have any questions or alternative solutions.