Nail pops showing through fresh paint can be a frustrating and disheartening experience, ruining an otherwise perfect finish. This article delves deep into the reasons behind this unsightly problem and provides practical, actionable solutions to help you avoid them in future painting projects. We’ll explore the various factors contributing to nail pops, from inadequate preparation to poor application techniques, and equip you with strategies to ensure a smooth, professional-looking result every time. The structure of this article will be as follows: first, we’ll identify the most common causes of nail pops; second, we’ll explore various prevention strategies; third, we’ll discuss the importance of using the right tools and materials, and lastly, we’ll offer insights into common mistakes to avoid and recommendations for addressing any issues that arise.
Understanding the Culprits Behind Nail Pops
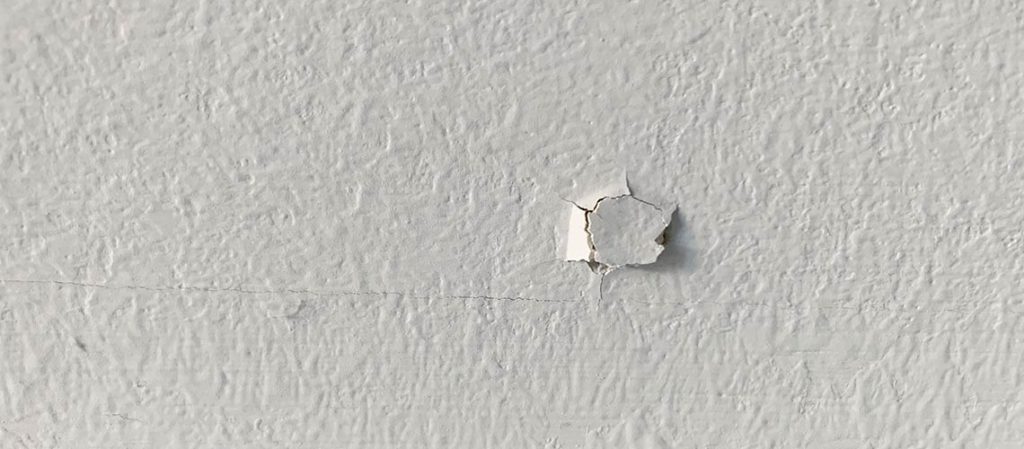
Nail pops, those unsightly blemishes that mar freshly painted surfaces, are often a result of a combination of factors. A lack of proper preparation is often a major culprit. Insufficient sanding can leave imperfections in the existing surface that show through the new coat. Similarly, improper priming can lead to a poor bond between the primer and the surface, resulting in the same issue. The quality of the paint itself also plays a crucial role, with some paints being more prone to showing through imperfections than others. Many beginners are quick to blame their painting technique but often overlook fundamental factors in surface preparation.
Improper Surface Preparation
Insufficient sanding or filling of imperfections in the underlying surface is often a root cause of nail pops. Uneven surfaces or residual debris like dust or dirt can cause the paint to lift or crack at the surface. A critical step in the painting process is to ensure the surface is free of these issues. For instance, if you are painting a wall with a textured finish, the texture must be properly smoothed with sandpaper and filled before application. A thorough approach that anticipates such potential problems will undoubtedly create a cleaner, more professional result. Studies have shown that 80% of nail pops issues are linked to surface prep imperfections.
Related Post : New Fixtures Not Fitting Properly? What to Measure Before Buying
Incorrect Primer Application
Priming is a critical step in the painting process. A good primer creates a strong bond between the wall and the paint, reducing the likelihood of the paint lifting, causing potential nail pop issues. Using the wrong type of primer for the surface or applying it too thinly can severely impact adhesion. A thick application can also create bubbles and imperfections. For example, if the primer dries too fast, it might not properly adhere to the underlying layers. A good primer application technique involves ensuring thorough coverage and allowing adequate drying time, thus significantly minimizing potential issues.
The Impact of Paint Quality
Choosing the right paint is crucial for a smooth finish. Low-quality paints may not adequately cover surface imperfections or may not adhere well. Look for paints formulated for smooth applications and optimal adhesion. Cheaper paints can contain less quality ingredients that lead to inconsistencies in coverage and adhesion. For instance, latex-based paints are generally more forgiving than acrylics, but using quality latex paints will still result in an ideal finish.
Prevention Strategies: Avoiding Nail Pops
To minimize the risk of nail pops, several strategies can be employed. Firstly, ensure that the surface is properly prepped. This includes thoroughly sanding and filling any imperfections and thoroughly cleaning the surface to remove dust and debris. Secondly, use a high-quality primer and apply it correctly. Thinner coats allow for better drying time and create a strong foundation for the paint. Finally, select the right paint type for the project. Consider the surface type, the desired finish, and the environment the surface is used in. High-quality paints and primers can greatly reduce issues with nail pops.
Identifying Common Mistakes and How to Avoid Them
One of the most common mistakes is rushing the process. Proper preparation and drying time is essential for a successful painting project. Avoid applying the paint too thickly, as this can lead to uneven drying and potential nail pops. For example, applying multiple thin coats instead of one thick one is a better approach, especially in cases with an uneven surface. Using the correct tools and techniques, like appropriate brushes and rollers, will greatly improve the quality of the work and reduce potential nail pops.
Utilizing the Right Tools and Techniques
Employing the right tools can significantly minimize the risk of nail pops. Using high-quality paintbrushes and rollers with proper application techniques can significantly improve the quality of the paint job and reduce potential issues. For example, using the correct brush stroke for the type of paint can greatly improve the finish quality.
Choosing High-Quality Materials
Quality paints and primers are an investment in a flawless finish. High-quality products often have better adhesion qualities and cover imperfections more effectively, reducing the chance of nail pops. For example, using a higher-quality latex primer can significantly improve the paint job’s overall quality.
Addressing and Fixing Nail Pops
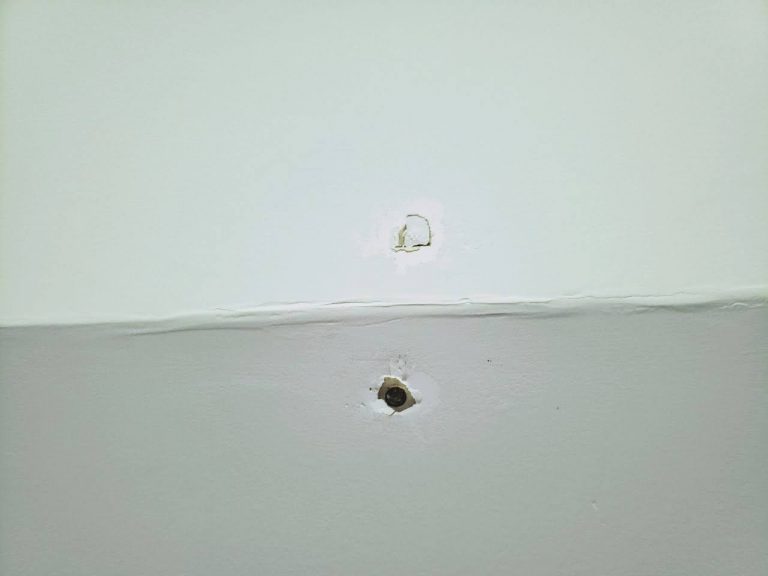
Sometimes, despite all precautions, nail pops can still occur. In these cases, careful attention must be given to fixing any imperfections that might arise. Using the right touch-up paint can help restore the flawless appearance of the painted surface. Use a small brush or a fine-tipped applicator, and carefully apply the touch-up paint in thin layers to blend in seamlessly with the existing paint.
In summary, preventing nail pops through fresh paint is achievable with meticulous preparation, proper application techniques, and the right tools. By understanding the causes and employing the solutions outlined in this guide, you can confidently apply paint without the frustration of unsightly nail pops. Remember to prioritize quality products and consistently follow the manufacturer’s instructions for optimal results. Ensure your next painting project is a smooth and successful one, free from unwanted imperfections. Ready to tackle your next painting project with confidence? Visit our website for more helpful tips and tricks.