Roller marks showing through paint can be a frustrating problem for both DIY enthusiasts and professional painters. These imperfections detract from the final look, and often necessitate costly touch-ups and repainting. This comprehensive guide will dive deep into the techniques for cleaner paint application, focusing on preventing roller marks and achieving a flawless, even finish. We’ll explore crucial steps, from surface preparation to choosing the right roller, ensuring you understand the factors contributing to roller marks and how to effectively mitigate them. We’ll break down the whole process into sections, starting with the crucial preparation stage, followed by recommendations for equipment and application strategies. This article aims to give you the knowledge and tools necessary to achieve a professional-quality paint job, minimizing the risk of unsightly roller marks.
Surface Preparation: The Foundation of a Smooth Finish
Understanding Surface Imperfections
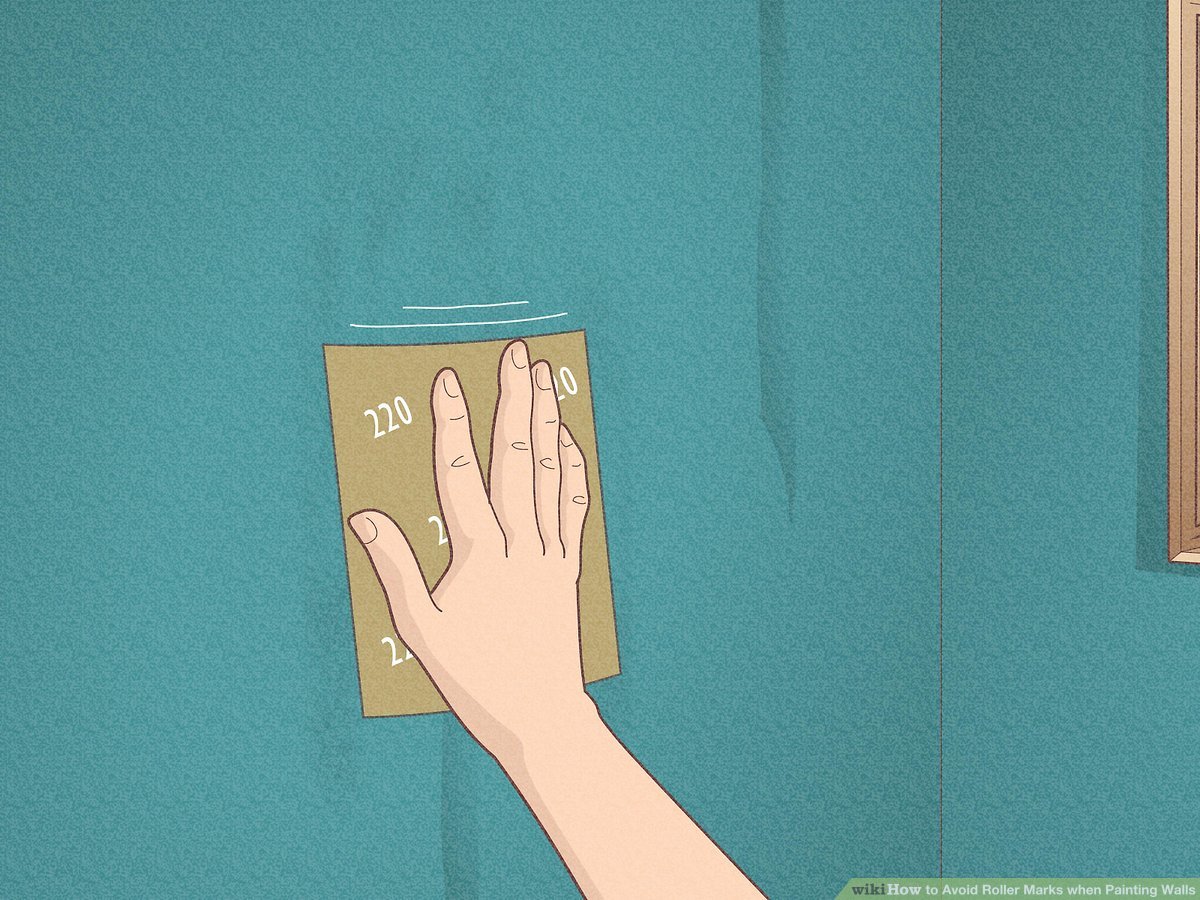
Surface preparation is the cornerstone of a successful paint job, regardless of the type of project. Poor preparation can lead to roller marks becoming more visible and problematic, potentially necessitating multiple coats and rework. Knowing how to identify and address surface imperfections is key to minimizing the appearance of roller marks and ensuring a durable finish. Understanding the surface’s porosity and texture is crucial, as these factors influence how the paint adheres. A smooth, consistent surface provides the best environment for a smooth paint application.
Cleaning and Priming: A Necessary Step
Thorough cleaning and priming significantly enhance the paint’s adhesion and durability. Dust, dirt, and other contaminants will prevent the paint from bonding properly, leading to potential cracking and peeling. This can increase the risk of roller marks showing through, impacting the overall appearance of your project. Start by thoroughly cleaning the surface with appropriate cleaners and tools designed for the substrate (wood, metal, drywall etc.). Applying a high-quality primer creates a uniform surface that promotes better paint adhesion. A properly primed surface ensures that the paint adheres evenly to the base and significantly minimizes the possibility of roller marks showing through the top layer.
Related Post : Paint Bubbling on Walls After Application? What’s Causing the Problem
Selecting the Right Roller and Paint
Roller Type and Size:
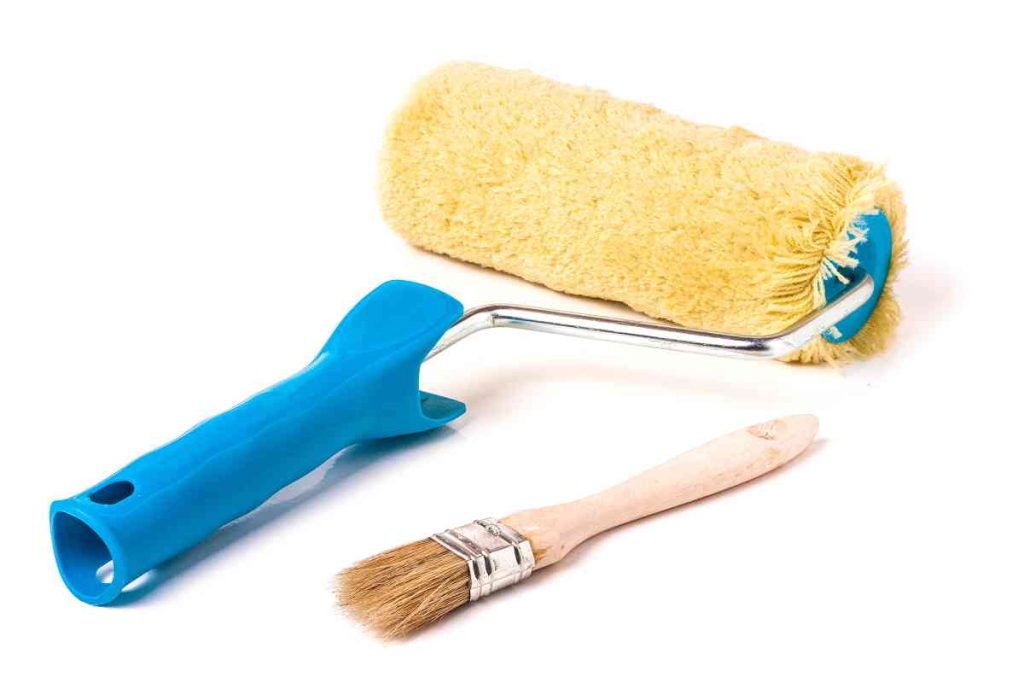
The type and size of roller you use directly impact the outcome of your paint job. Different surfaces and paint types call for different roller types—for example, a paint roller with a smooth surface is often best for smooth surfaces to avoid excess roller marks. For rough or textured surfaces, a roller with a slightly rougher surface is better. Using the appropriate size roller for your project area also plays a key role in creating a smooth finish. A smaller roller is more manageable when painting tighter spaces, while a larger roller is more efficient for larger areas, minimizing the chance of noticeable brush marks.
Paint Selection and Consistency
The type of paint you choose significantly affects the visibility of roller marks. Using the correct paint type for the surface and intended use is vital. The paint’s consistency and viscosity are crucial. Thinner paints are more prone to showing marks, while thicker paints typically provide a more even finish. Proper mixing is essential to ensure a consistent paint consistency throughout the application process.
Proper Application Techniques
Loading and Applying the Paint:
Overloading the roller with paint is a significant factor that leads to the visibility of roller marks. It’s essential to load the roller appropriately for the paint consistency. Use a paint tray to regulate the amount of paint on the roller and to maintain consistent coverage. Begin by applying the paint in a smooth, even motion, working with the grain of the surface for optimal results. Avoid any harsh or uneven strokes that can leave obvious roller marks. Maintaining a uniform stroke is crucial.
Avoiding Excess Paint and Overlapping Strokes
Avoid applying excess paint on the roller. A loaded roller will be difficult to control and will create visible marks. Pay attention to overlapping strokes; ensure seamless coverage with minimal overlap to prevent noticeable roller marks. Using a light touch and allowing each stroke to blend with the previous one is crucial for a clean, smooth finish. Use a sufficient amount of paint to ensure proper coverage, but avoid saturating the roller.
Maintaining the Smooth Finish
Controlling Pressure and Speed
Pressure and speed are essential for smooth painting. Maintain a consistent pressure on the roller during the application process. Avoid applying too much or too little pressure, as this can lead to uneven paint application and visible marks. The speed of the roller also plays a significant role in achieving an even finish. Paint too quickly and you risk the paint not drying completely before the roller moves on to the next area. This could lead to smudging and unwanted roller marks.
Troubleshooting and Cleanup
Identifying and Addressing Issues
Identifying the source of roller marks is the first step in resolving the problem. If roller marks are appearing in certain areas, check the surface preparation, paint consistency, or application technique. Is the surface too rough? Is the paint too thin? Was the paint application inconsistent? Thoroughly inspect the areas that have roller marks showing through the paint, paying close attention to any irregularities in the paint application and the paint’s adhesion to the substrate.
Cleanup Procedures
Cleaning tools promptly after each use prevents the drying of paint on the tools. This will ensure easy cleanup and prevent the hardened paint from sticking to the tools.
In conclusion, achieving flawless paint applications and eliminating roller marks requires a meticulous approach. By mastering the techniques detailed above, you can ensure a professional, even finish. Remember to properly prep the surface, select the right roller and paint, and follow the correct application procedures. Investing in high-quality tools and employing the right techniques will greatly reduce the appearance of roller marks and ultimately lead to a superior paint job. For any further questions, please refer to the FAQs below. Let us know your paint project details in the comment section, we’re ready to help!