
A dripping faucet under your sink can seem like a minor issue, but the persistent dripping can lead to wasted water, increased water bills, and potential damage to your home. Learning how to fix a leaking faucet under the sink is a valuable skill for any homeowner. This comprehensive guide will walk you through various solutions, from simple fixes to more complex repairs, all to quickly and effectively stop those pesky drips. We’ll cover the most common causes and provide step-by-step instructions, empowering you to tackle this common plumbing problem on your own. This guide will break down the process into manageable sections, focusing on identifying the root cause, gathering necessary tools, and performing the repair correctly.
Identifying the Source of the Leak
Understanding the Different Types of Faucet Leaks
Often, the first step to fixing a leaky faucet is identifying the exact source of the problem. Leaks under your sink can manifest in several ways, from a constant drip to a steady stream. Recognizing the nature of the leak can narrow down the possible causes. A persistent drip might indicate a loose washer or a worn-out O-ring, while a more significant flow could signify a more serious issue like a damaged valve or worn-out cartridge.
Troubleshooting Common Faucet Issues
Related Post : Cabinet Doors Misaligning After Installation? How to Adjust Properly
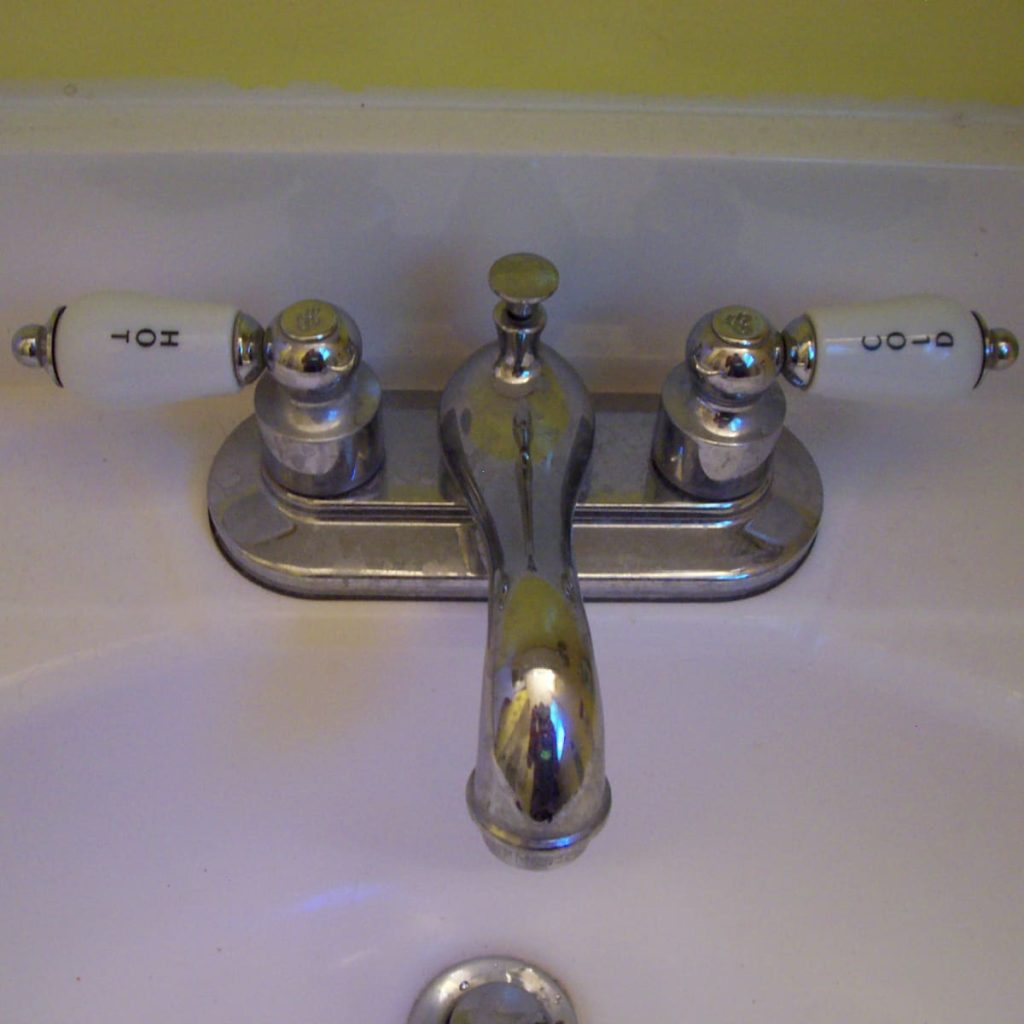
Pay close attention to where the water is coming from under your sink. Is it dripping from the faucet itself, the spout, or the base of the faucet? Identifying the precise location of the drip can greatly assist in determining the cause. Look for visible water stains or signs of moisture buildup around the faucet, as these clues can reveal the source of the leakage. A dripping faucet under your kitchen sink may indicate a simple washer issue that you can readily repair, but a leak from the pipes themselves could require professional assistance.
Gathering Necessary Tools and Supplies
Essential Tools for Faucet Repair
To effectively repair a leaking faucet, you will need the appropriate tools. For basic faucet repairs, you will need basic tools. Common tools include a screwdriver (Phillips and flathead), pliers, adjustable wrench, a basin wrench, a pipe wrench, and a wrench for the water shutoff valves. These tools are essential for turning off the water supply, disassembling the faucet, and installing new parts. Additionally, having a bucket or container to catch excess water is crucial for preventing a water damage disaster.
Materials and Parts
Depending on the cause of the leak, you may need replacement parts. Common parts to have on hand include washers, O-rings, cartridges, or even a complete replacement faucet if the damage is significant. You should always have a spare of the parts that may need to be replaced. Having these supplies readily available prevents delays in the process, allowing you to efficiently solve the problem.
Shutting Off the Water Supply
Locating and Turning Off Water Valves
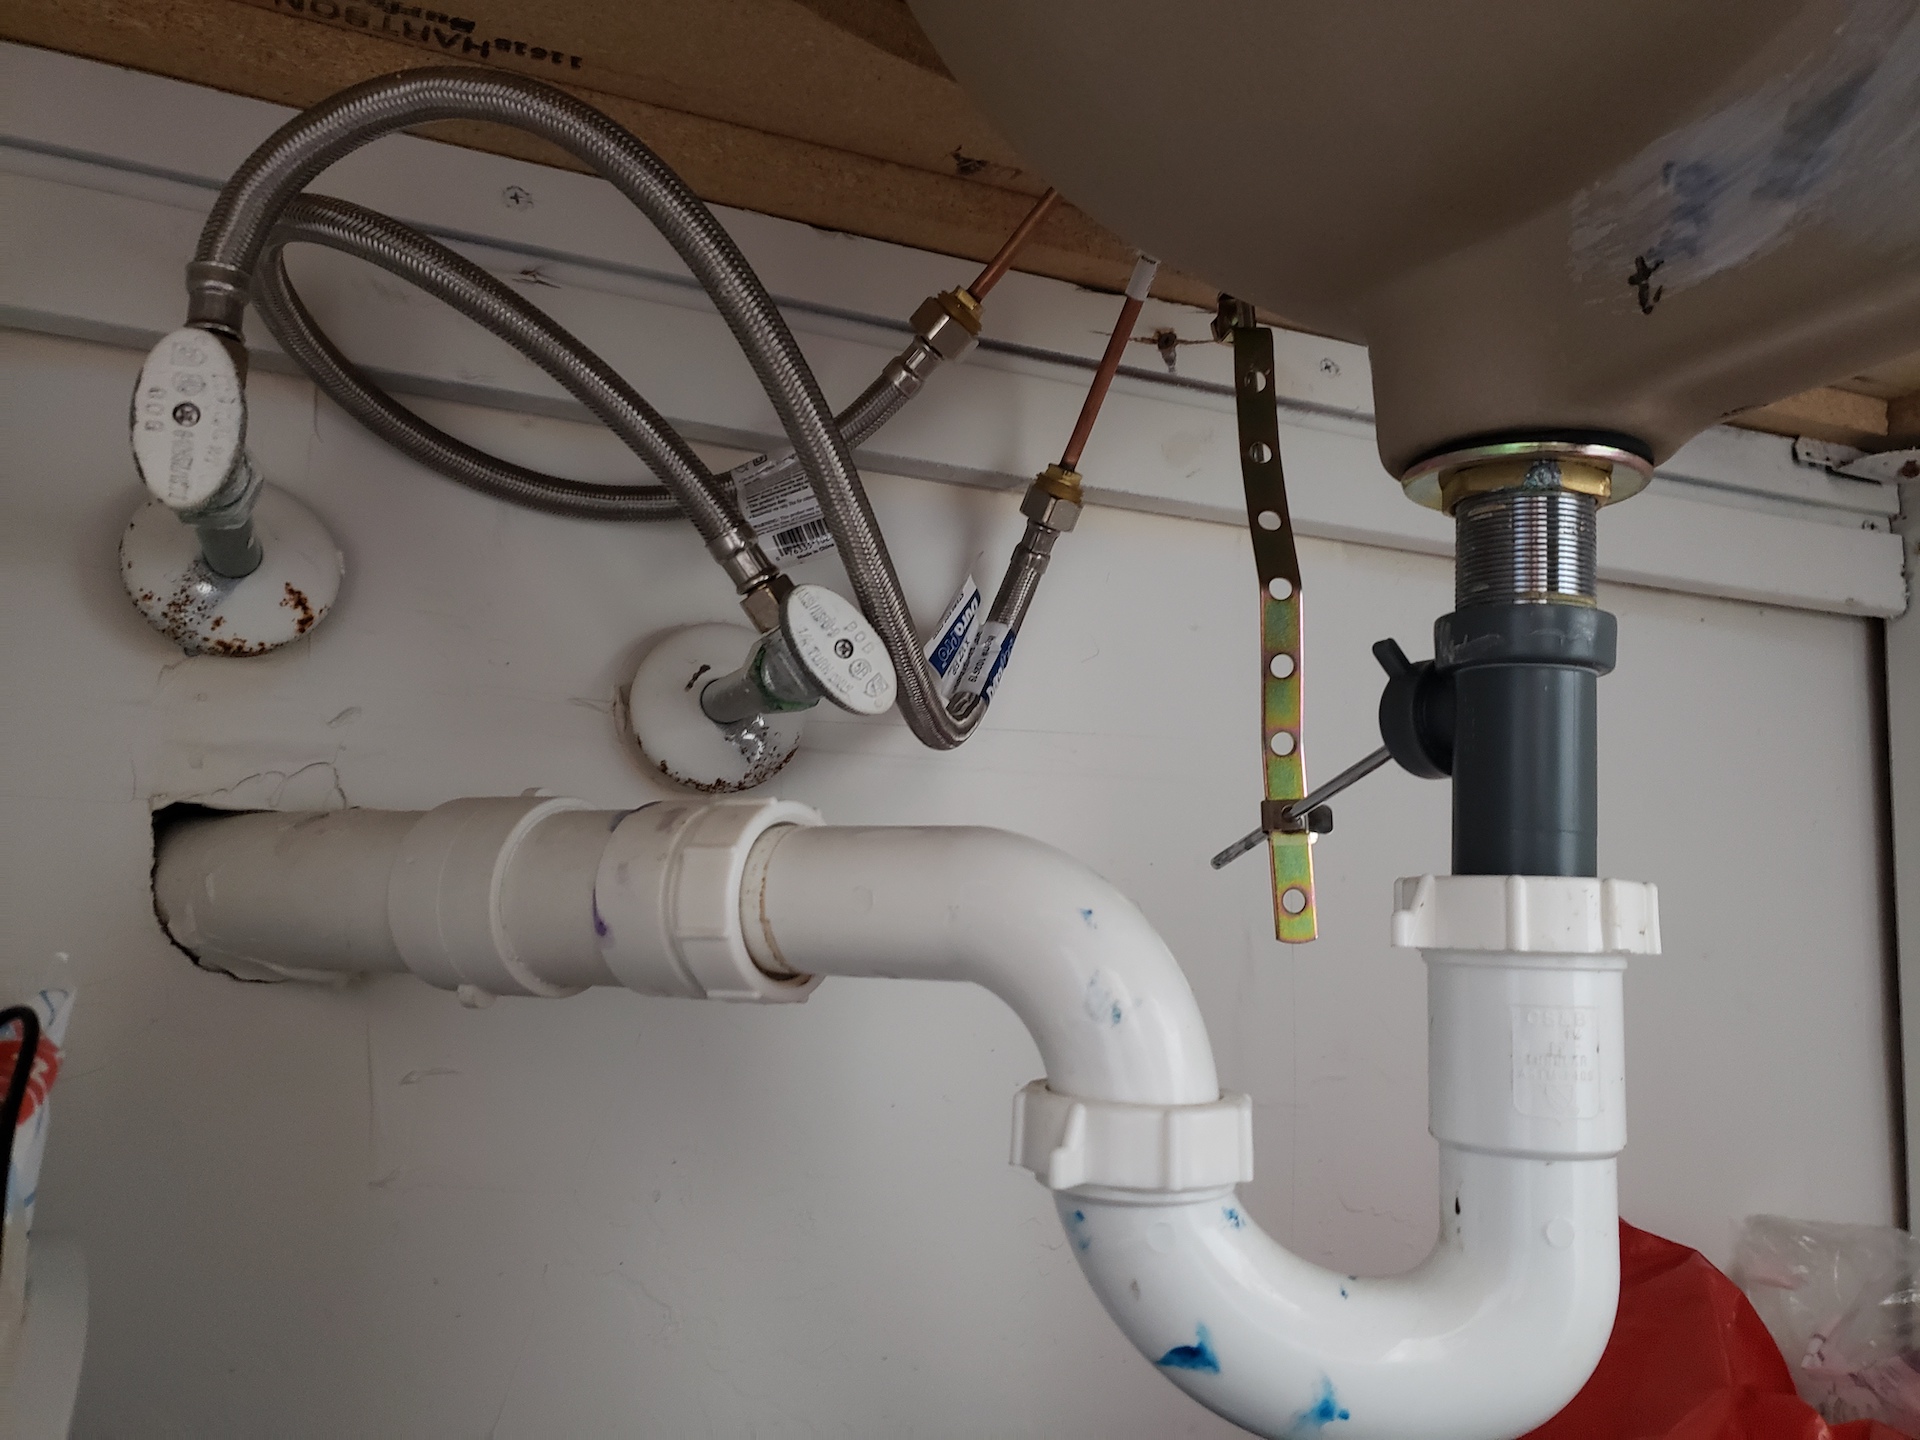
Before working on any plumbing, it’s crucial to shut off the water supply to the faucet. This prevents further water damage and ensures your safety. Locate the shut-off valves, typically located under the sink, and carefully turn them clockwise to fully cut off the water flow. If you’re unsure about the location, consult your homeowner’s manual or contact a qualified plumber.
Disassembling the Faucet
Carefully Removing Faucet Components
Once the water is shut off, you can carefully remove the faucet components. This involves loosening nuts and screws, and disconnecting any hoses or pipes that connect to the faucet. Be mindful of the water pressure buildup when you open the connection.
Identifying the Source of the Leak
Examine each component for signs of damage or wear and tear, which may provide a better understanding of what caused the leakage. A worn-out washer or an incorrectly installed gasket could be the reason of the leakage problem. Thoroughly inspect all components to locate the exact location of the leak. This will be helpful for you to replace only the components needed.
Replacing Damaged Parts
Selecting and Installing New Parts
Depending on the issue, you might need to replace specific parts, such as washers, O-rings, cartridges, or even the entire faucet. Use the original components as your guide to fit the new replacement parts. Follow the manufacturer’s instructions to ensure correct installation and avoid further complications or damage.
Tightening Connections Securely
Once all replacement parts are fitted, ensure all connections are properly tightened. Over-tightening can damage the threads, while under-tightening can result in leaks. Use the appropriate tools to ensure proper tightening of the joints.
Testing for Leaks
Turning on the Water Slowly
With all connections tightened, slowly turn the water supply back on. Carefully monitor the faucet for any signs of leakage around the assembly. If water is dripping, go back to the steps of fixing the part that is still leaking. The process should be continued until all leaks are fixed.
Addressing Remaining Leaks
If any leaks persist, carefully review the steps taken to identify the reason of leak. It’s possible that you missed a step or that a part requires further tightening or replacement. A detailed examination can often pinpoint the source of the problem and guide the necessary correction
Conclusion
FAQs
FAQs
In conclusion, fixing a leaky faucet under your sink is often a straightforward process. By systematically checking for common causes, you can identify and address the issue efficiently. Remember to prioritize safety, shut off the water supply before working on any plumbing, and use appropriate tools. This guide provided a clear and comprehensive approach to tackling leaky faucets, empowering you to maintain the integrity of your plumbing system and avoid costly repairs down the road. For further assistance or if the problem persists, consult a professional plumber. Don’t hesitate to share this guide with others who might face similar plumbing issues!