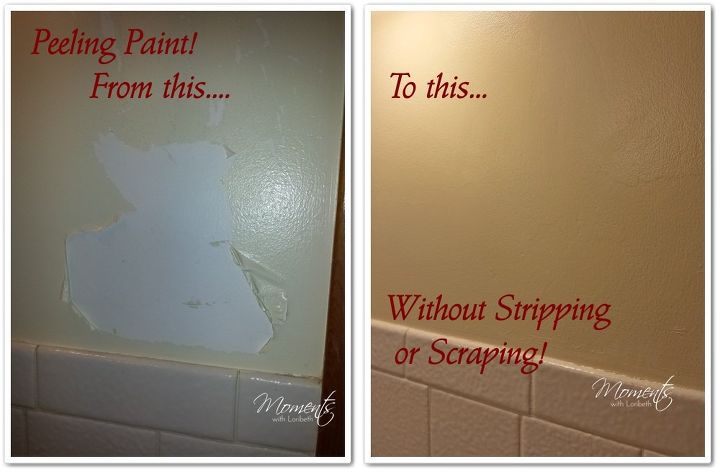
DIY paint jobs are a popular way to save money and personalize your home, but what happens when your freshly painted surfaces start peeling prematurely? Early paint peeling can be frustrating and potentially costly. This thorough guide will delve into the common causes of early paint peeling in DIY projects and offer actionable solutions to rectify and prevent future issues. We will explore various facets, including surface preparation, paint quality, and application techniques. The structure of this article will be as follows: first we’ll determine common causes and then we’ll show you how to correct the situation.
determineing the Root Causes of Early Peeling
Early peeling paint can stem from a variety of issues, from the quality of your preparation work to the inherent properties of the paint itself. A thorough understanding of the possible culprits is the first step in fixing the issue. One common cause is inadequate surface preparation. This means that the underlying surface wasn’t adequately cleaned, primed, or treated to ensure proper adhesion of the paint. Another common cause is the incorrect use of primer. Using the wrong type of primer for the surface or skipping the priming step entirely will significantly reduce the longevity of the paint. Lastly, substandard paint quality can also lead to issues such as early peeling or bubbling. Choosing quality paints that match your project’s needs is crucial. High-quality paints, though often more expensive, are designed to offer superior adhesion, durability, and overall longevity to your project.
Surface Preparation Issues
Improper surface preparation is often a culprit behind peeling paint. This can manifest in several ways. For instance, old paint that’s not properly removed can have loose or flaking particles that prevent proper adhesion. A common issue is using inadequate sandpaper to ensure a smooth surface; this leaves microscopic imperfections that weaken the bond. If the surface isn’t completely clean, dust or debris can create a barrier between the paint and the surface, preventing a strong bond. A poor or insufficient primer application also hinders the process. All these elements are crucial to ensure that your paint adheres properly.
The Impact of Paint Quality and Application
Related Post : Wall Anchors Pulling Out? How to Secure Heavy Items Correctly
Beyond the preparation process, the quality of the paint and its application technique play a vital function in the paint’s longevity. Choosing inferior-quality paint is another frequent cause of early peeling. Low-quality paint often lacks the necessary resins, pigments, and binders to form a strong, durable coating. These paints are less resistant to weathering and wear, increasing the risk of chipping and peeling. Additionally, using the wrong type of paint for the application can exacerbate this problem. For instance, applying exterior paint to an interior wall will often lead to peeling as the paints aren’t designed to withstand the same environmental conditions.
Choosing the Right Paint
selecting the appropriate paint type is just as crucial as ensuring the surface is properly prepared. selecting the right paint type will help prevent issues in the future. The environment where the paint is applied is key. Exterior paints are formulated to withstand the elements, while interior paints are designed for indoor use. Temperature fluctuations, extreme weather, and sunlight can significantly reduce the longevity of a paint job. Ensure the paint is compatible with the surface and the surrounding environment. Check product information and specifications to ensure compatibility.
Addressing Application Techniques
Paint application technique is another crucial factor that can lead to early peeling. Uneven application of paint, for example, can create areas with inconsistent thickness, leading to stress points and eventual peeling. Inadequate drying time between coats is another frequent issue. Insufficient drying time creates a weak bond between layers and leads to premature peeling as the layers aren’t properly connected. The use of brushes and rollers with poor quality, not applying enough coats, and the wrong type of brushes or rollers can affect the outcome.
Application Tips for a Smooth Finish
To avoid application-related issues, follow these tips for a smooth finish: Apply paint in thin, even coats. Allow each coat to fully dry before applying the next. Use the appropriate tools and techniques for the specific type of paint. Ensure that you are using the correct paint and thinner combination to avoid potential chemical reactions and poor coverage, and always follow the manufacturer’s instructions carefully.
Environmental Factors and Their Influence
Environmental conditions can play a significant function in the lifespan of a paint job. Exposure to extreme temperatures, high humidity, or direct sunlight can weaken the paint, causing it to peel or crack over time. Furthermore, pollutants in the air can react with the paint, accelerating deterioration. These factors can greatly impact paint adhesion and durability. It is crucial to consider the environmental factors when choosing the paint type and the timeframe for the project.
Protecting Your Paint Job
To mitigate the impact of environmental factors, consider taking protective measures such as using UV-resistant paints for exterior projects. Working in optimal conditions, such as during the cooler part of the day, is crucial. Also, shield your paint job from direct sunlight, rain, and wind where possible. This will help ensure that your paint job lasts as long as possible.
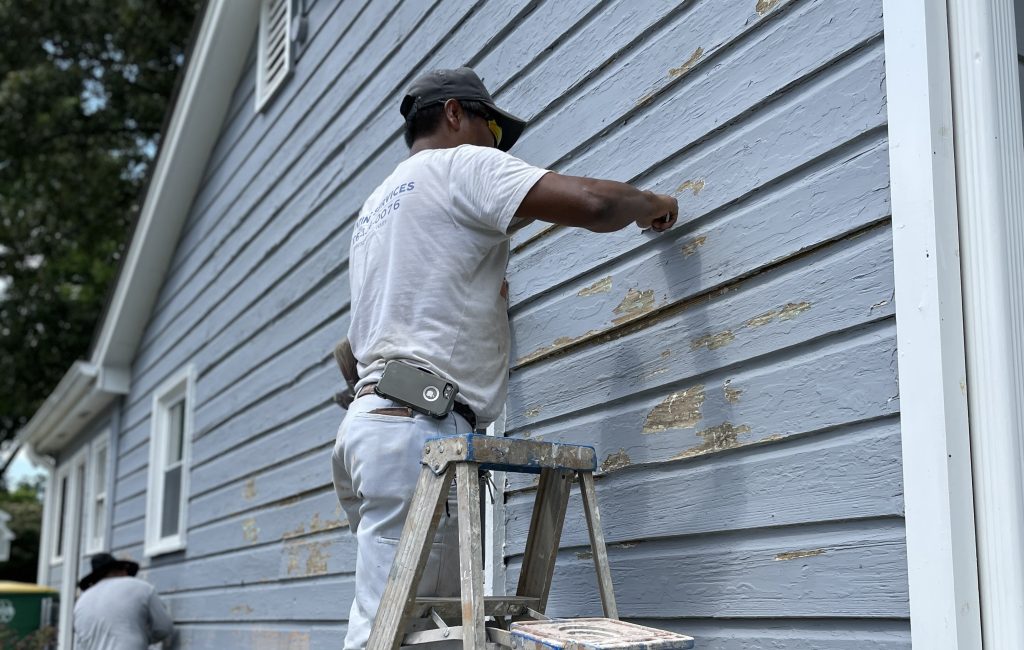
Fixing the Damage – Repairing Peeling Paint
If your paint job has already started peeling, there are ways to repair the damage and prevent further issues. The first step is to carefully remove any loose or flaking paint, ensuring you don’t damage the underlying surface. After thorough cleaning and preparation, apply a suitable primer to the affected area. select a primer that’s compatible with the existing paint and the environment where the paint job will be. Follow the manufacturer’s instructions for application and drying time. Once the primer is dry, apply new paint in even, thin coats using the appropriate tools.
Repainting Steps
Using the right tools and techniques is crucial for achievementful repairs. A good quality paint sprayer, for example, can apply the new paint uniformly and efficiently, whereas brushes may require more careful and precise application to ensure a flawless finish. The key is to thoroughly clean the peeling surface to ensure that the new paint adheres effectively.
Q: How can I prevent future DIY paint job peeling problems?
A: Preventing future problems requires meticulous attention to surface preparation, paint quality, and application techniques. Ensure all surfaces are thoroughly cleaned, primed, and sanded. select high-quality paints suitable for the environment and intended use. Apply the paint in thin, even coats, allowing sufficient drying time between layers. Protect the paint job from harsh weather conditions or pollutants. Following these steps will help extend the lifespan of your DIY paint job.
In conclusion, DIY paint jobs that peel prematurely often stem from a combination of factors ranging from improper surface preparation to the use of inferior paint quality. By meticulously following the preparation and application steps outlined above, you can dramatically boost the longevity and achievement rate of your DIY projects. Remember, the key to a achievementful DIY paint job lies in thorough preparation, proper application, and high-quality materials. If you’re still uncertain about any step, don’t hesitate to consult a professional painter or visit a local paint store for expert advice. Try your hand at another DIY paint project today—with confidence!