Paint chipping around edges can be a frustrating problem, impacting the aesthetic appeal and longevity of any painted surface. Whether it’s your home’s exterior or interior, understanding the proper prep work is crucial for a lasting finish. This thorough guide will walk you through the essential steps for tackling paint chipping around edges effectively. We will delve into cleaning techniques, surface preparation strategies, and crucial considerations for applying primer and paint to prevent future chipping. Let’s dive in!
Understanding the Problem: Why Paint Chips Around Edges
Paint chipping around edges is a common problem in many homes. Often, the problem stems from inadequate surface preparation or improper paint application. Moisture, temperature changes, and UV exposure can contribute to paint failure, particularly at edges where stress concentrations are higher. Poor adhesion, inadequate primer, or insufficient drying time can all contribute to chipping. Understanding the root cause can help prevent future problems. determineing the specific factors influencing your paint chipping will allow you to target the right fixes and prevent similar issues in the future.
Crucial Steps in Surface Preparation
Thorough Cleaning
Related Post : Front Door Not Closing Flush? Causes and How to Realign It
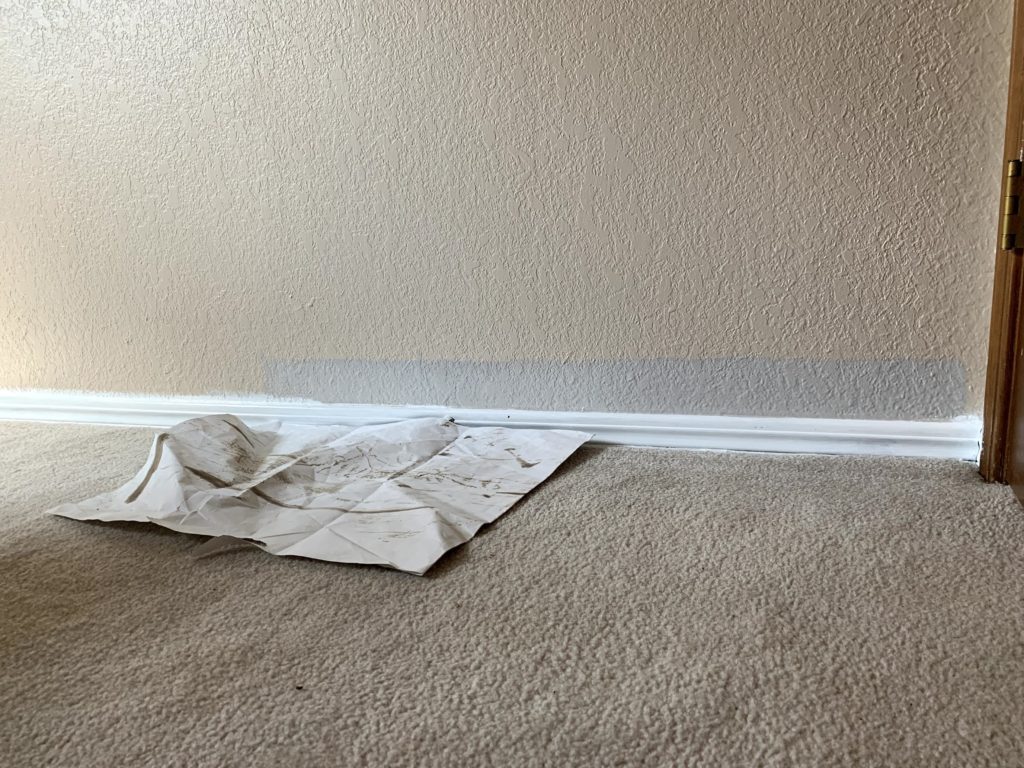
Cleaning the affected area is paramount to a achievementful paint job. Remove loose paint, dirt, and debris to ensure good adhesion. Use a wire brush or sandpaper to remove any loose paint. A solvent-based cleaner can further aid in achieving a clean, grease-complimentary surface, which is essential for achieving a strong bond between the paint and the substrate. Pay particular attention to any gaps or crevices to ensure a complete removal of debris. This meticulous cleaning process sets the stage for efficient and long-lasting outcomes.
Repairing Damage
Addressing cracks or imperfections is essential. Use a wood filler or spackle to fill gaps and level out the surface. Allow the filler to dry completely before sanding, smoothing out any uneven surfaces to ensure a uniform surface for the paint to adhere to. If you have deep cracks, consider using a suitable patching compound. Allowing the filler to completely dry prevents future issues and maintains the integrity of the paint job.
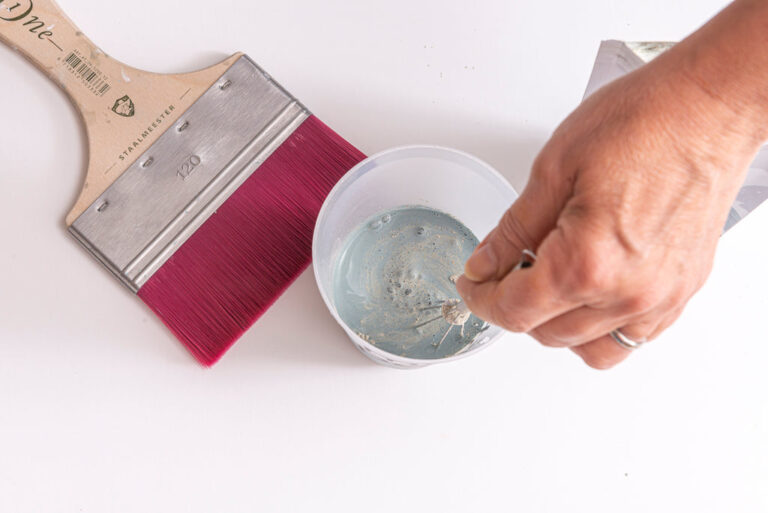
Primer Application for Optimal Adhesion
Choosing the Right Primer
selecting the appropriate primer is key to a strong bond between the substrate and paint. A suitable primer will not only ensure that the paint adheres well but will also shield the surface from moisture, which is a primary cause of paint chipping. Consider the type of surface you’re working with—wood, metal, or concrete—to select the correct primer type. varied primers have varied functionalities, and selecting the right type can drastically improve the durability and longevity of the painted surface.
Applying the Primer Evenly
A uniform primer application is vital for a lasting finish. Apply the primer in thin, even coats, ensuring complete coverage of the entire area. Allow each coat to dry completely before applying the next. Multiple thin coats are more effective than a single thick coat, preventing runs and ensuring uniform coverage. Follow the manufacturer’s instructions for drying time and ensure adequate ventilation for a healthy working environment.
Applying Paint for a Lasting Finish
selecting the Right Paint
select a paint that is suitable for the environment and application, considering factors like moisture resistance and UV protection. select a paint designed for the particular surface type and the conditions it will face. Exterior paints, for example, are often more resistant to the elements. The right choice can significantly improve the life of your paint job.
Achieving Even Coat Application
Apply the paint in thin, even coats. Overlap each coat to ensure complete coverage. Using a brush or roller, carefully apply the paint in a uniform manner, ensuring that no gaps are left uncovered. Adequate ventilation is crucial for drying and preventing mold growth, which can lead to paint damage. Using a high-quality paint will contribute to a smooth and consistent finish. Ensure proper ventilation for a safe and effective paint application.
Additional Tips for Preventing Chipping
Regular Maintenance
Maintaining the painted surface is a proactive measure to prevent paint chipping. Regular inspections can reveal potential issues before they escalate. Simple cleaning and touch-ups can prevent minor problems from worsening. This maintenance not only extends the lifespan of the paint job but also keeps your property in excellent condition.
Avoiding Common Mistakes
Insufficient Preparation
Rushing the preparation steps is a common mistake. Thorough cleaning and surface repairs are essential for a long-lasting finish.
Using Incompatible Materials
Using incompatible paints or primers with the surface can cause problems. Using products designed for the specific surface type ensures a long-lasting paint job.
Applying Too Much Paint
Applying too much paint at once can lead to drips, runs, and unevenness in the paint. Applying thin layers allows the paint to dry properly and prevents these defects.
Inadequate Drying Time
Waiting the recommended drying time is crucial. Applying another coat too soon can cause problems in paint adhesion and cause further chipping. Follow the manufacturer’s recommendations to achieve optimal outcomes. Allow sufficient drying time for each layer to prevent issues like cracking or chipping later on. This step is often overlooked but dramatically affects the longevity of the finished product.
Conclusion: Prevention is Key
Preventative measures can save you time, money, and effort in the long run. Choosing the right materials and following proper procedures during the painting process are essential in avoiding problems like paint chipping around edges. Prevention is key to achievementful paint jobs. Thorough preparation is the cornerstone of achieving a beautiful and long-lasting finish. With careful attention to detail and proper application, paint chipping can be minimized, ensuring the longevity of your painted surfaces. If you’re unsure, contact a professional painter for a complimentary consultation! Consider a professional painter for optimal outcomes if DIY options seem challenging. Contact a reliable contractor to receive a complimentary estimate for your painting needs today! Don’t hesitate to ask querys and clarify any facets of the process that may not be clear.
In conclusion, prepping for paint chipping around edges requires a meticulous approach that includes thorough cleaning, proper surface preparation, and careful application of primer and paint. By following these steps, you can achieve a durable and long-lasting finish that stands the test of time. This meticulous preparation ensures your paint job not only looks great but also offers optimal protection against future chipping. For more thorough DIY solutions or specialized needs, consider consulting a professional painter. Contact a reputable painting contractor for a complimentary estimate today!