Weatherstripping coming loose? It’s a common issue in many homes, causing drafts, boostd energy bills, and a general loss of comfort. This thorough guide delves into the causes, solutions, and optimal practices for resealing and insulating your weatherstripping, ensuring a more energy-efficient and comfortable home. We’ll explore various methods for resealing and insulating weatherstripping, covering DIY solutions and when to call a professional. In this guide, we’ll cover everything from diagnosing the problem to choosing the right materials and performing the necessary repairs. We’ll break down effective techniques, offer detailed instructions, and offer insight into preventing future issues. The structure of this article is designed to be easy-to-follow, ensuring you can effectively tackle this common home improvement challenge.
Understanding the Problem: Why Weatherstripping Comes Loose
Weatherstripping plays a crucial function in maintaining the energy efficiency of your home. It seals gaps around windows and doors, preventing drafts and keeping conditioned air inside. However, over time, weatherstripping can degrade, causing it to come loose. Understanding the reasons behind this issue is the first step to effective repair. Factors like temperature fluctuations, humidity changes, and regular wear and tear contribute to this common problem. Improper installation can also lead to issues with weatherstripping over time. Understanding these factors is key to preventing future issues and maintaining optimal performance. This helps us better understand the potential issues that could affect our home’s energy efficiency and our comfort levels throughout the year.
determineing the Signs of Loose Weatherstripping
Recognizing the signs of loose weatherstripping is the first step to addressing the issue. You’ll likely notice drafts around windows and doors, particularly when the temperature difference between inside and outside is significant. Cold air seeping into the house during the winter months is an obvious sign, but you may also notice warm air escaping during the summer, leading to boostd energy consumption and a reduction in comfort. Also, inspect visually for any visible gaps or cracks in the weatherstripping material itself. Furthermore, loose weatherstripping can lead to boostd noise from outside. Recognizing these subtle cues is essential for a quick resolution to the issue.
Related Post : Front Door Not Closing Flush? Causes and How to Realign It
DIY Solutions for Resealing Weatherstripping
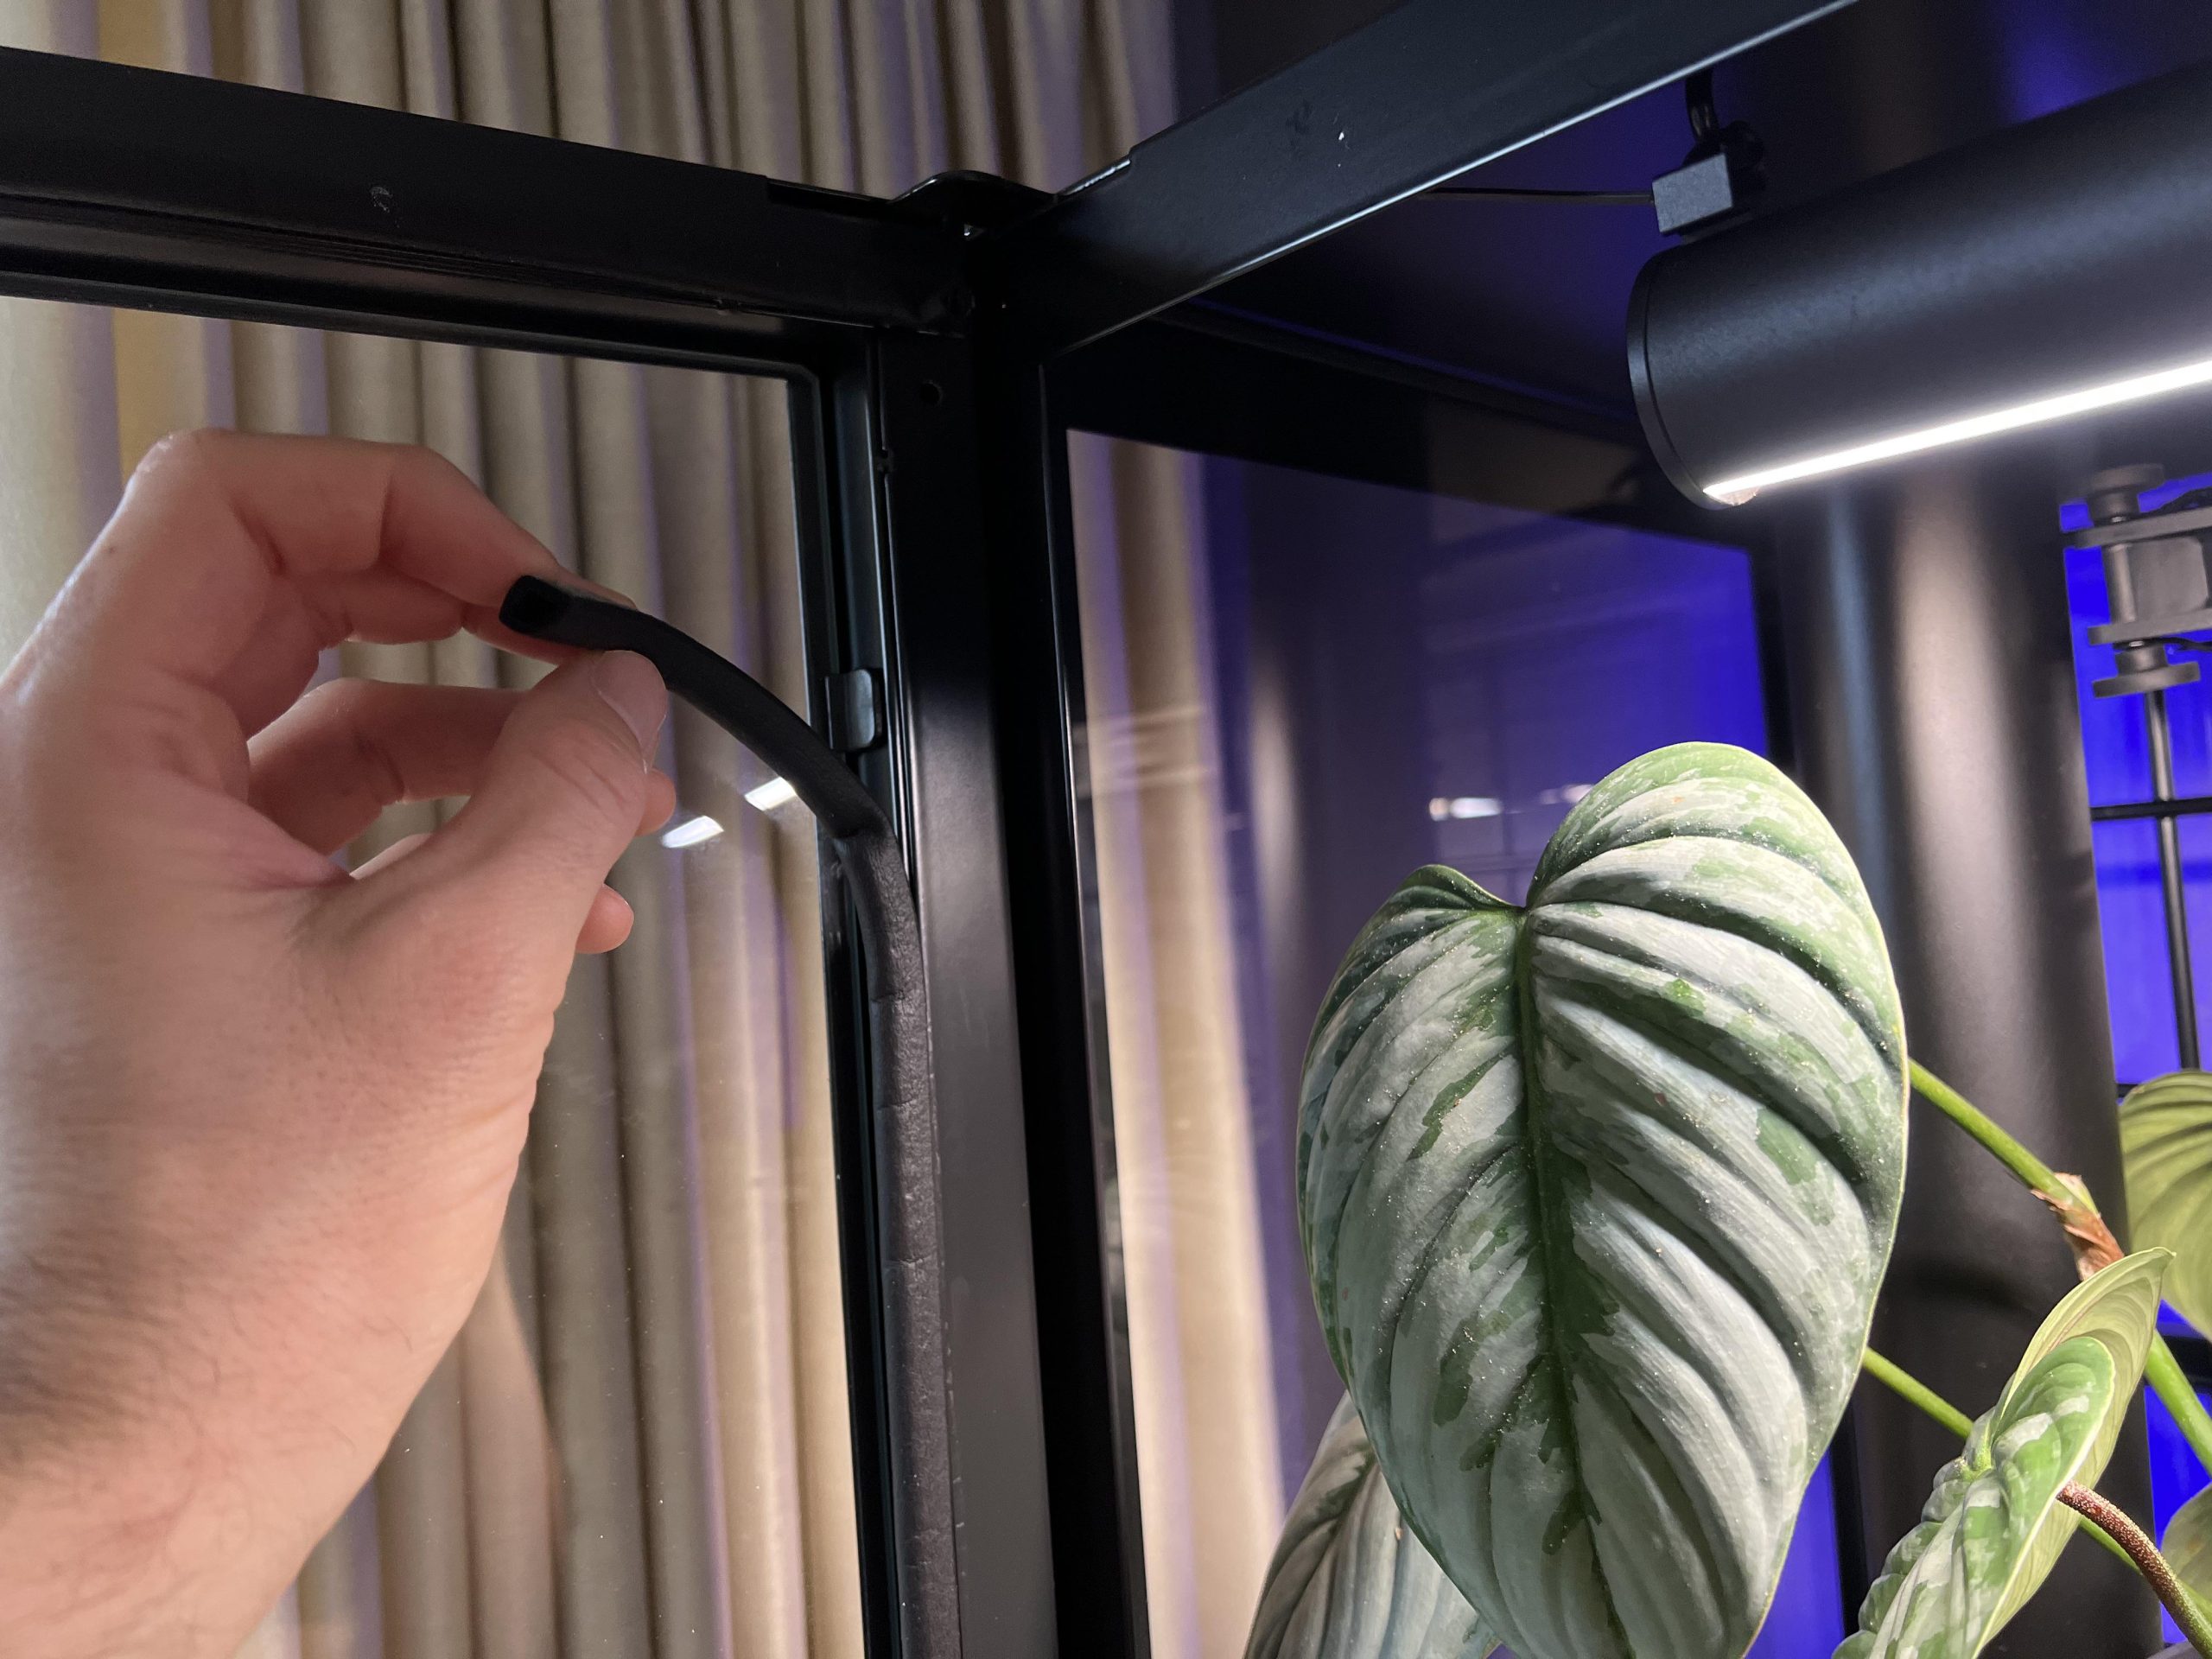
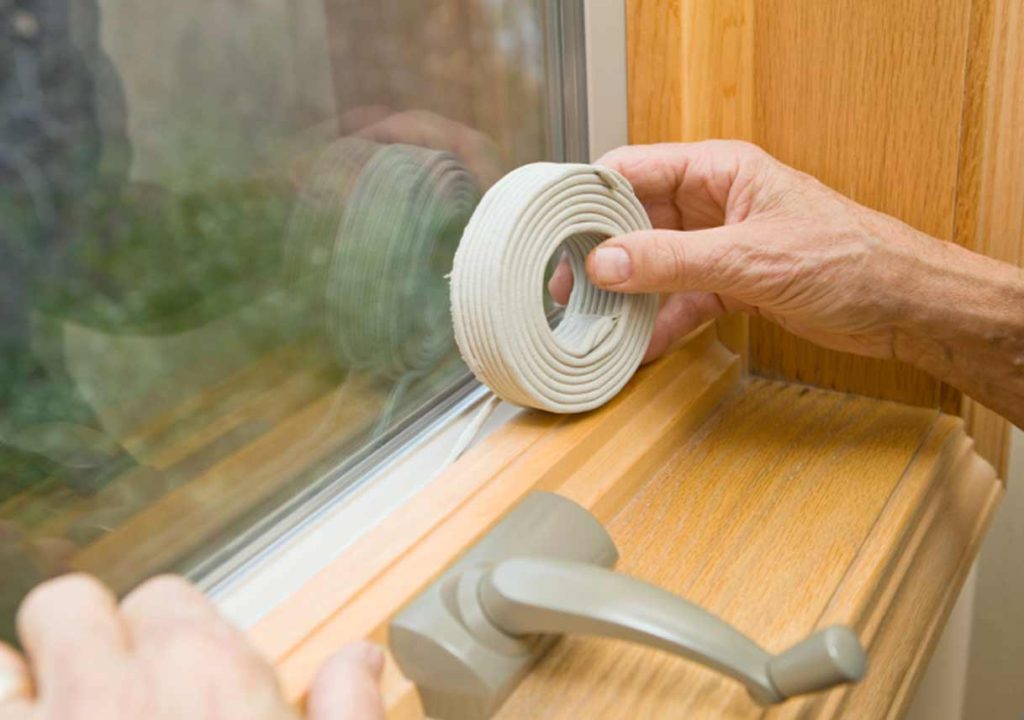
For many homeowners, repairing weatherstripping can be accomplished with a few simple tools and materials. Before beginning any repair work, be sure to gather the required supplies, including new weatherstripping, a utility knife, and a hammer. Ensure safety precautions are taken during work to avoid accidents. For small gaps and areas, you can typically use a utility knife or a similar tool to trim away any damaged or worn material. Once this damaged material has been removed, apply the new weatherstripping in its place. You may need to cut and fit the weatherstripping to the contours of your windows and doors, ensuring a tight seal. This process is relatively straightforward for homeowners familiar with basic DIY tasks. Carefully adhere the new weatherstripping to ensure a tight and uniform seal around the edges of your windows or doors.
Choosing the Right Weatherstripping Material
The type of weatherstripping material used is critical to effective sealing and insulation. varied materials offer varying degrees of flexibility, durability, and insulation. Common choices include vinyl, foam, and rubber. Each material has its own set of benefits and disbenefits, and the choice often depends on the specific application. For example, foam weatherstripping often offers excellent insulation but may not be as durable as rubber options in high-traffic areas. Before you select a type of weatherstripping, consider the potential needs of your home for energy efficiency and comfort. Understanding the specific requirements of your home’s environment will allow you to select the most appropriate material for each application.
Preventing Future Issues
Preventing future problems with weatherstripping requires regular maintenance and inspections. Periodically checking the seals on your windows and doors for signs of wear or damage is crucial. This ensures any issues are identified quickly and can be addressed promptly, preventing large-scale problems from developing. If you live in an area with extreme weather conditions, checking the weatherstripping more frequently could be beneficial. Moreover, ensure the weatherstripping is properly installed initially for optimum outcomes and long-term efficacy. Regularly inspecting your weatherstripping will prevent any serious issues from affecting your home’s comfort or energy efficiency.
Professional Resealing Services
While many weatherstripping issues can be resolved by homeowners, more complex problems might require professional assistance. Professional contractors have the expertise and specialized tools to handle more significant repairs. In cases involving extensive damage or if you lack the necessary skills and equipment, seeking professional services can save time and ensure a proper seal. Professionals can determine the specific cause of the issue and make necessary repairs.
Cost Considerations
The cost of resealing weatherstripping varies greatly depending on factors like the size of the project, complexity of repairs, and the materials required. DIY methods can be significantly less expensive than professional services. However, the cost of materials and potential labor for DIY projects should be considered. Comparing prices of materials and consulting with professionals will allow you to make an informed decision to ensure cost-efficacy.
Energy Efficiency Improvements
Maintaining weatherstripping properly improves the energy efficiency of your home. It reduces energy loss through drafts, leading to lower utility bills and a more comfortable indoor environment. These savings can quickly add up over time, making weatherstripping a worthwhile investment. In cases with significant energy loss, consider the potential for a substantial return on investment through energy-efficient weatherstripping.
Long-Term Durability
The durability of your weatherstripping directly impacts your home’s energy efficiency and comfort levels. Choosing durable materials, such as rubber weatherstripping, is crucial for withstanding the elements. Materials like rubber are designed to endure the tests of time while effectively maintaining a proper seal over extended periods. This also boosts the lifespan of your window or door seals over the long term. Regular maintenance and inspections will boost the efficacy and the longevity of weatherstripping in the long term. This ensures your investment and maintenance efforts have a significant impact on home energy efficiency and comfort over an extended period.
In conclusion, resealing and insulating weatherstripping is a crucial DIY home improvement project that can significantly reduce energy costs and improve your home’s comfort. By following these steps and addressing the common issues discussed above, you can effectively maintain the integrity of your weatherstripping and maximize its insulating benefits. Don’t hesitate to experiment and find what works optimal for your specific needs. Contact a professional for large-scale projects or if you lack the necessary skills or tools. You’ll be rewarded with a more energy-efficient and comfortable home! Take action today and restore your home’s weatherstripping to its optimal performance! Weatherstripping coming loose is a common problem, and it can lead to issues of both comfort and energy efficiency.